Replacing a Shimano Bike Chain
A few months back, I gathered all the materials to replace my bike chain but held off until it was time for an upgrade. Today, while cleaning my bike and checking for wear, the chain looked ready to be replaced. I prepped by watching this video.
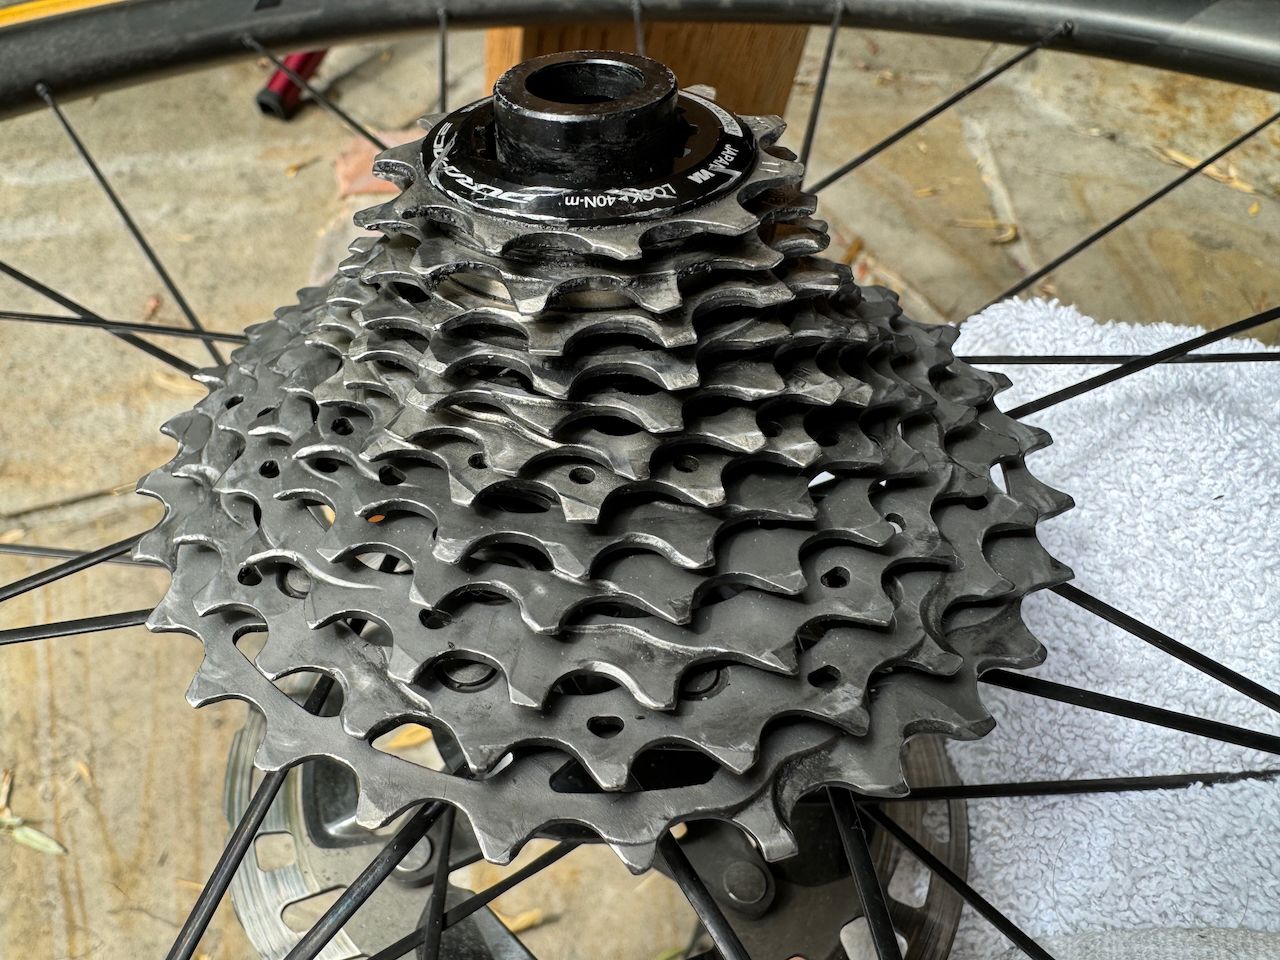
With my rear wheel off, it was a convenient time to clean my cassette and pulley wheels. I applied degreaser to remove dirt and grime, then washed it with soap and water to get rid of any leftover degreaser. I have been using a towel to clean between the sprockets but I recently saw a clever way to position the wheel to make it even easer to get in there.
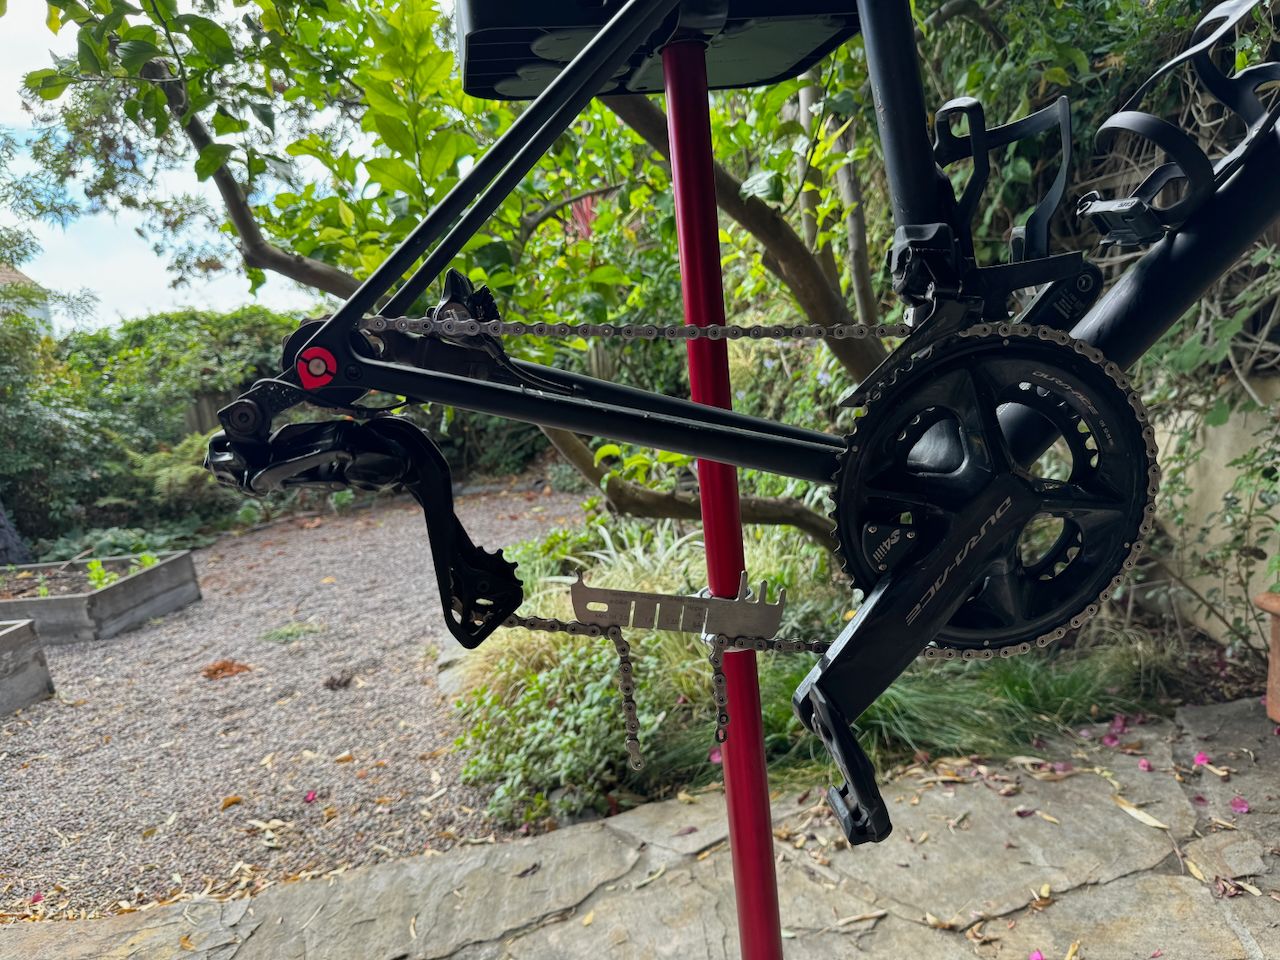
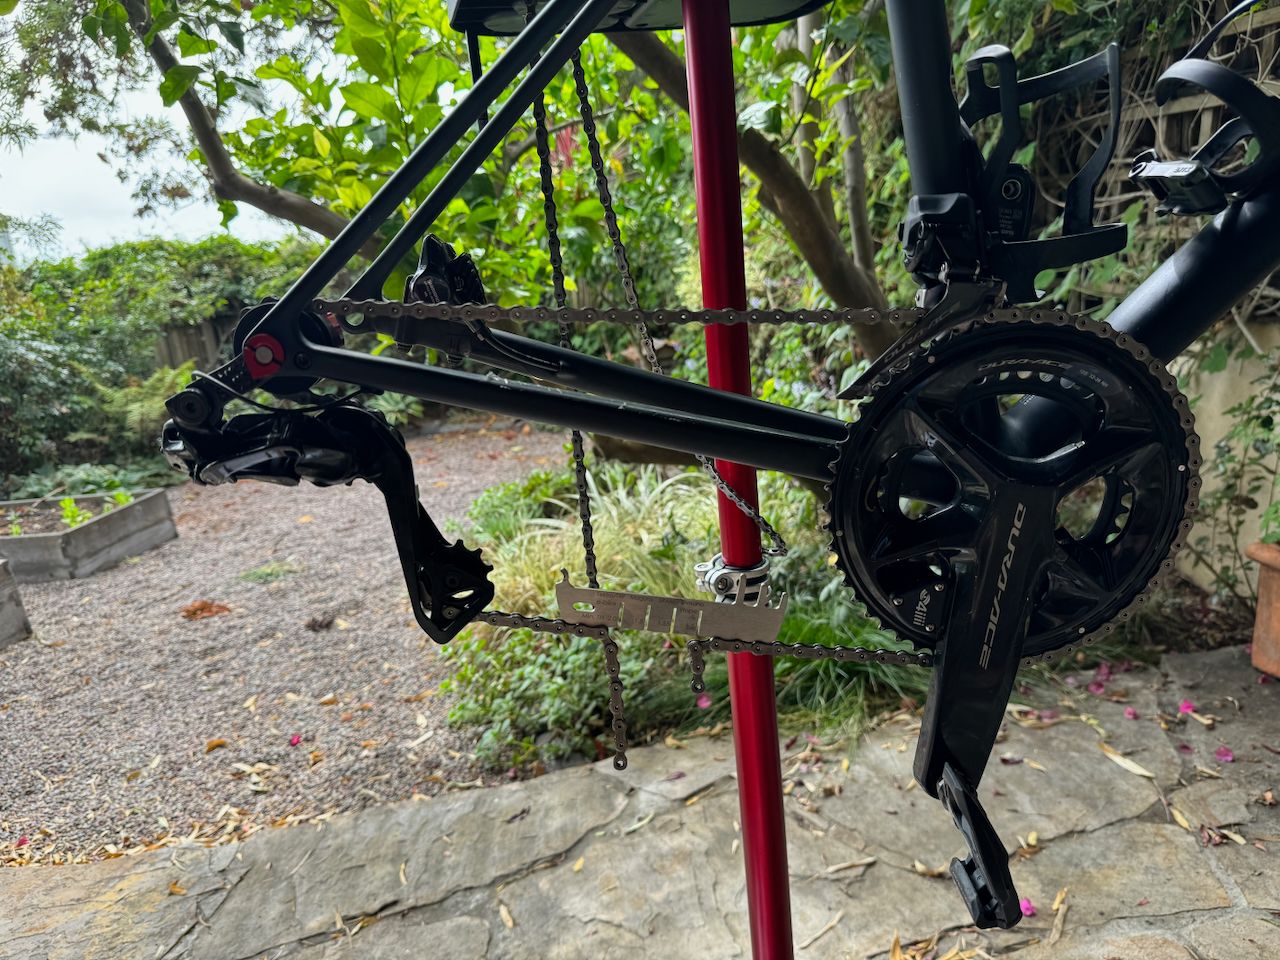
I opted to clean my old chain before taking it off, just in case I want to reuse it in the future. I used a multi-purpose tool to hold my chain in place while I removed the quick link with a master link pliers.
I had to shorten my new chain with a chain cutter. Cleaning my old chain beforehand proved beneficial, as it kept extra grime from transferring when I aligned the two chains to mark the link to remove.
When it came time to thread the new chain I had to refer to photos I'd taken to confirm it was oriented and threaded properly. Then, I installed the quick link.
With the quick link installed I was ready to remove the tool and give the chain a few spins.
I wanted to make sure the quick link was installed nice and tight before lubing the chain.

Afterwards, I took it for a brief test ride. A new chain sure made the bike feel noticeably crisper and more responsive. I look forward to going for a ride this weekend!
List of tools and supplies used:
- Replacement Chain: Shimano CN-M9100 Chain
- Chain Cutting Tool: Birzman Damselfly Universal Chain Tool
- Quick Link Pliers: Park Tool Master Link Pliers MLP-1.2
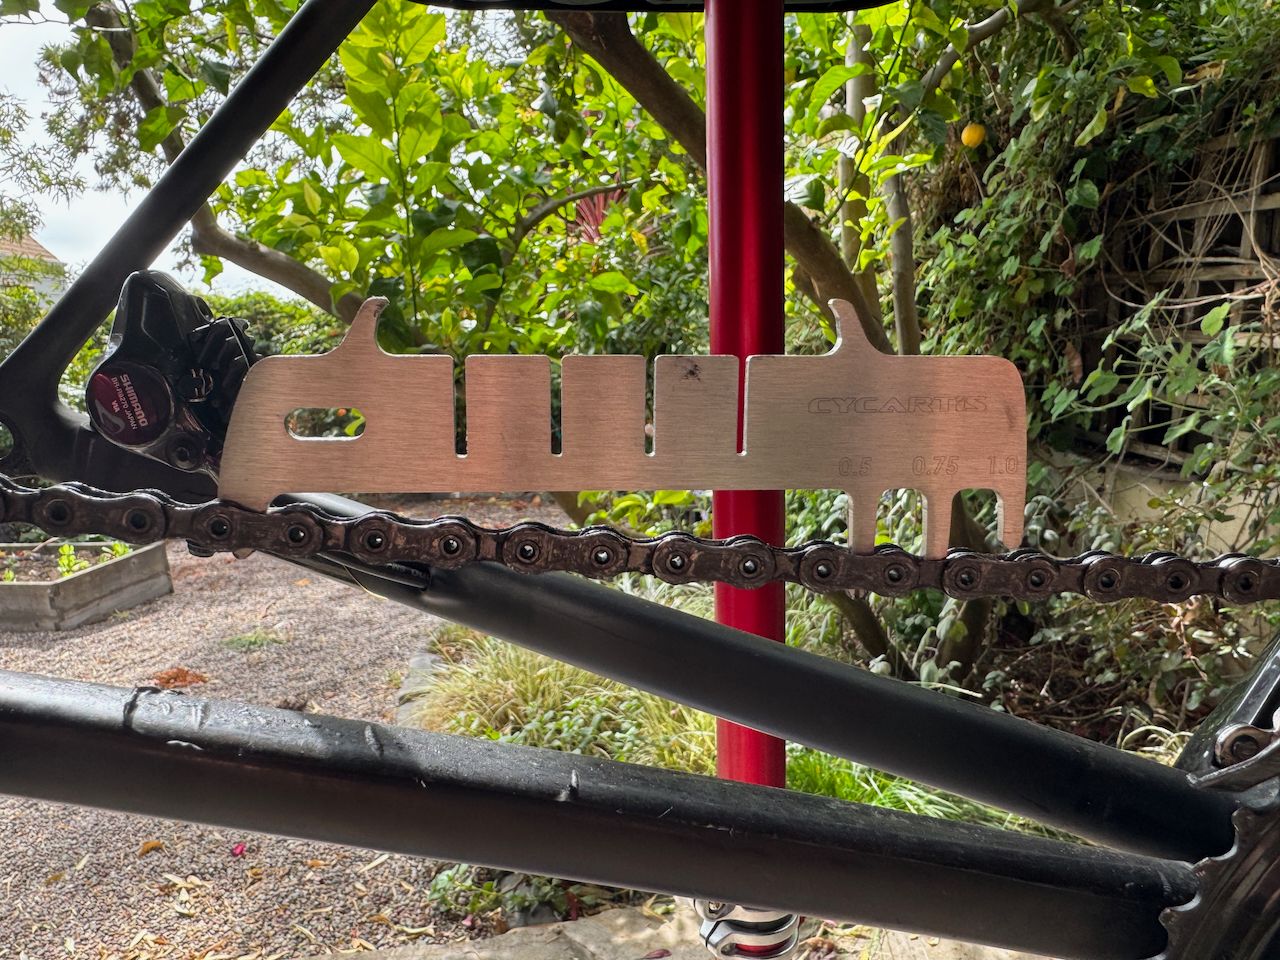
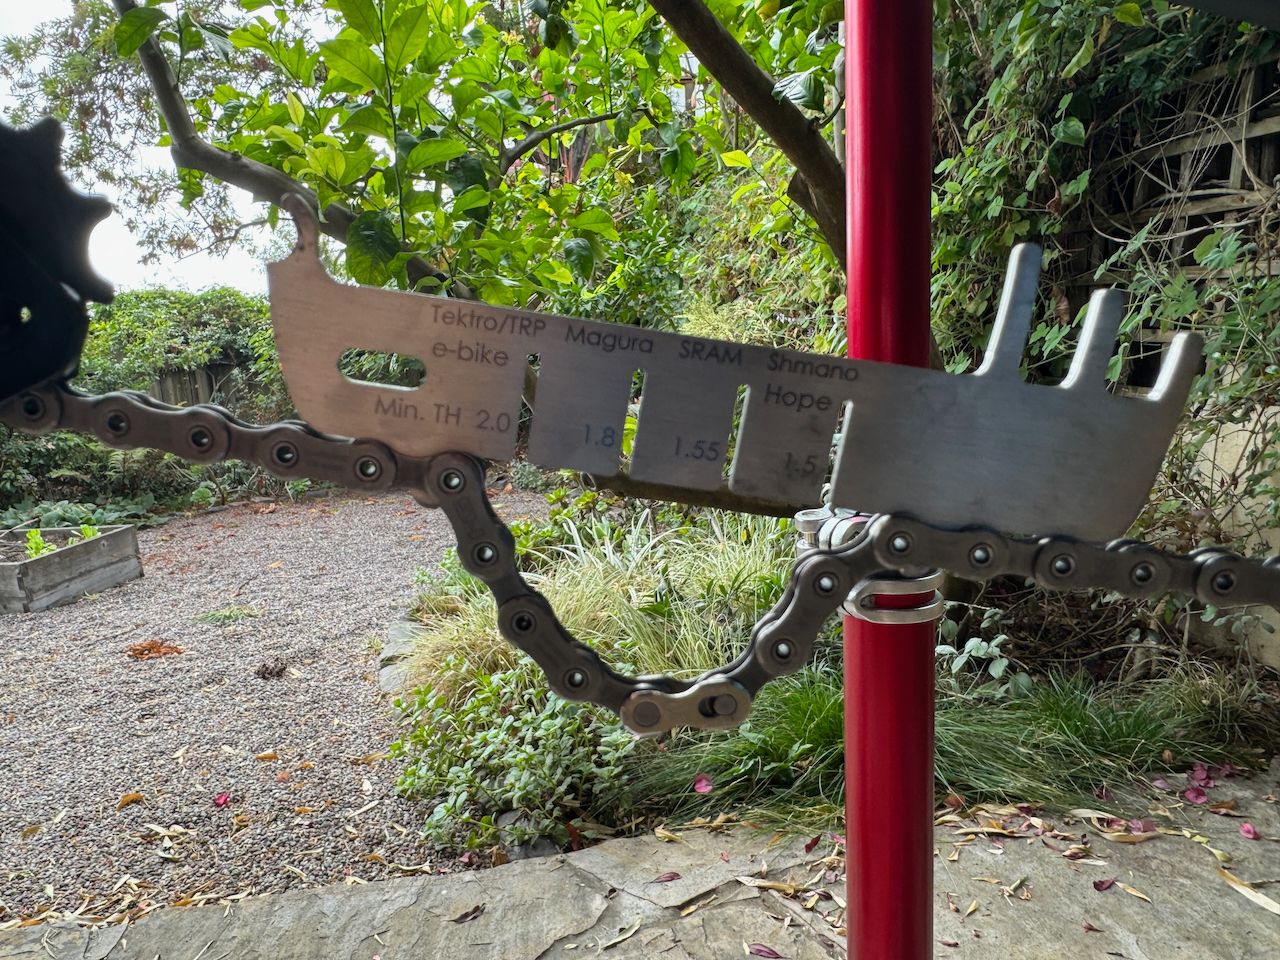
- Chain Wear Indicator: CYCARTIS Rotor Wear/Chain Wear Indicator CTC-001
- Bike Stand: Feedback Sports Pro Elite Repair Stand
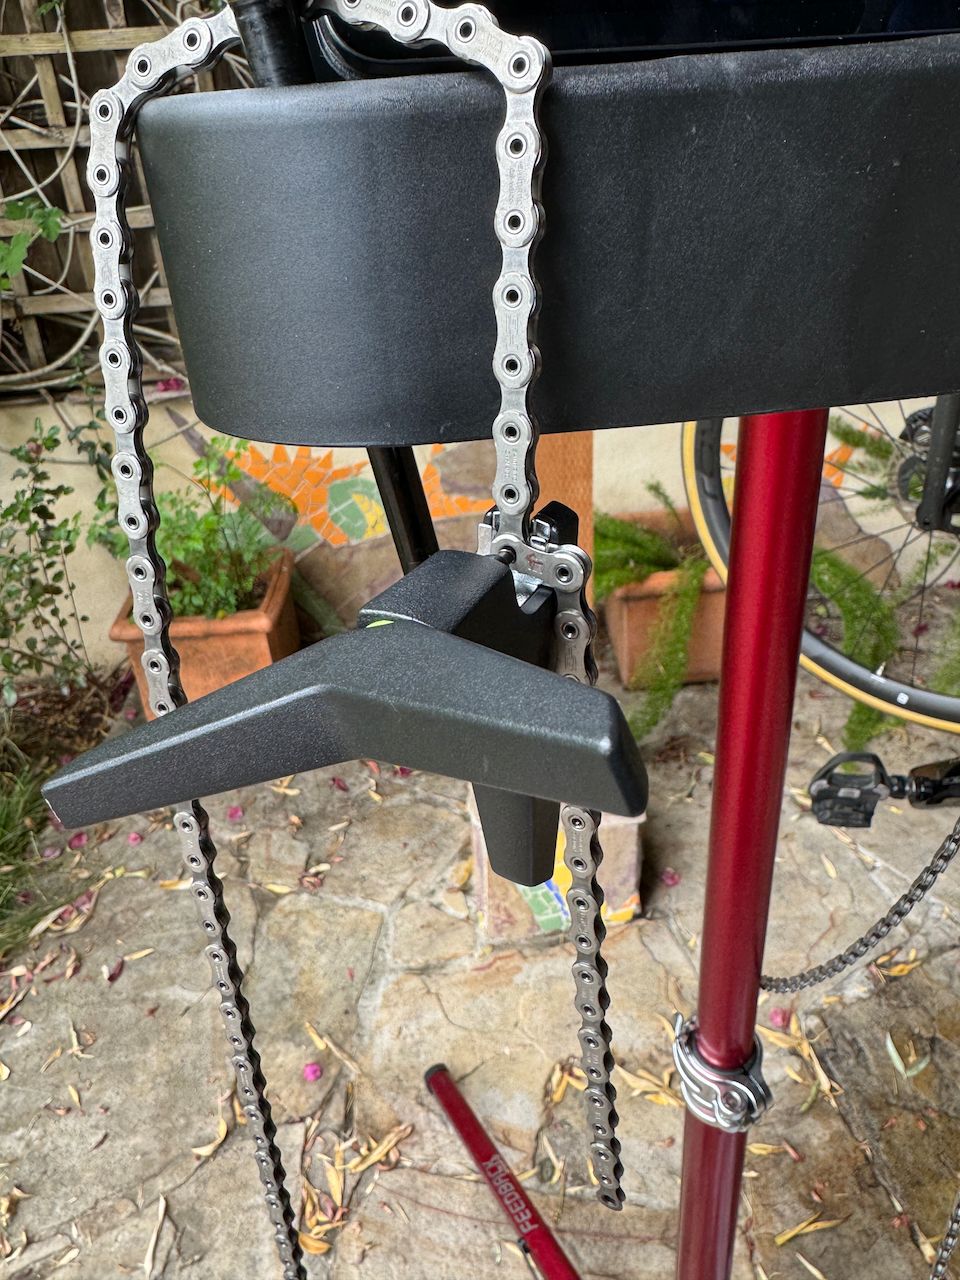
- Chain Holder: Feedback Sports Chain Keeper
- Budget-Friendly Degreaser: Zep Degreaser
- Chain Cleaning Device: Park Tool Chain Scrubber
- Two buckets:
- One with hot soap and water
- One empty for used degreaser
- Cleaning Brushes: Muc-Off Brush Kit
- Old Towels/Cardboard: To catch grease residue from the chain