Connecting a Pioneer VSX-LX505 to Apple HomeKit Using Homebridge
I recently purchased a Pioneer VSX-LX505 AV receiver and wanted to integrate it with Apple HomeKit using Homebridge. My goal was to easily control the amp—powering it on/off, switching inputs, adjusting the volume, and managing playback—all through the Apple Home app. Since I couldn’t find clear information online confirming whether this setup was possible, I decided to document the steps that worked for me.
The following assumes you are already familiar with Homebridge and have it set up with your Apple Home app. If you're new to Homebridge, you may want to check out Homebridge's official documentation to get started
Setting Up the Homebridge Plugin
To accomplish this, I used the homebridge-onkyo-pioneer plugin, which provides support for Pioneer and Onkyo receivers. Setting it up was straightforward, with only a few key configurations required:
- Finding the Receiver's IP Address:
Since my amp was connected via Ethernet and I hadn’t manually configured the network settings yet, I used a network scanner to discover its IP address. It's worth making this IP address static and reserving it on your router to ensure it doesn't change, preventing potential connection issues with Homebridge in the future. - Configuring the Plugin:
After installing the plugin, the main settings required were:- IP Address: Adding the amp’s IP.
- Device Name: Choosing a friendly name.
- Volume Control Type: Selecting
light bulbas the accessory type for volume control (other options includefan).

My Homebridge Configuration
Here’s the final configuration I used in the plug-in's config.json file:
{
    "statePollingInterval": 30,
    "debug": false,
    "receivers": [
        {
            "ip": "192.168.86.58",
            "name": "VXS-LX505",
            "volumeAccessory": "bulb",
            "maxVolume": 200
        }
    ],
    "platform": "OnkyoPioneer",
    "_bridge": {
        "username": "XX:XX:XX:XX:XX:XX",
        "port": 30209,
        "name": "homebridge-onkyo-pioneer EBCD"
    }
}
The key change, which is described below under resolving volume control issues, involved updating the maxVolume setting to 200.
Pairing with HomeKit
To optimize performance and ensure a stable connection, I set up the Pioneer receiver as a child bridge in Homebridge. In fairness, I have no idea if adding a child bridge for this device actually improves or enables anything. Regardless, the process I took involved two main steps:
Phase 1: Adding the Child Bridge
- Opened the Apple Home app and tapped "Add Accessory."
- Used the camera to scan the QR code displayed in the Homebridge plugin interface.
- The child bridge was successfully added to HomeKit, but the receiver itself didn’t appear as a controllable device.
Phase 2: Manually Adding Accessories
Since the receiver didn’t automatically import any devices, I had to manually add it by following these steps:
- Opened the Apple Home app and tapped "Add Accessory."
- Selected "More Options."
- Found the Pioneer receiver listed as two separate accessories—one for inputs and another for power/volume.
- Added both to my HomeKit setup.
- Note: If/when asked added the following HomeKit code: 031-45-154
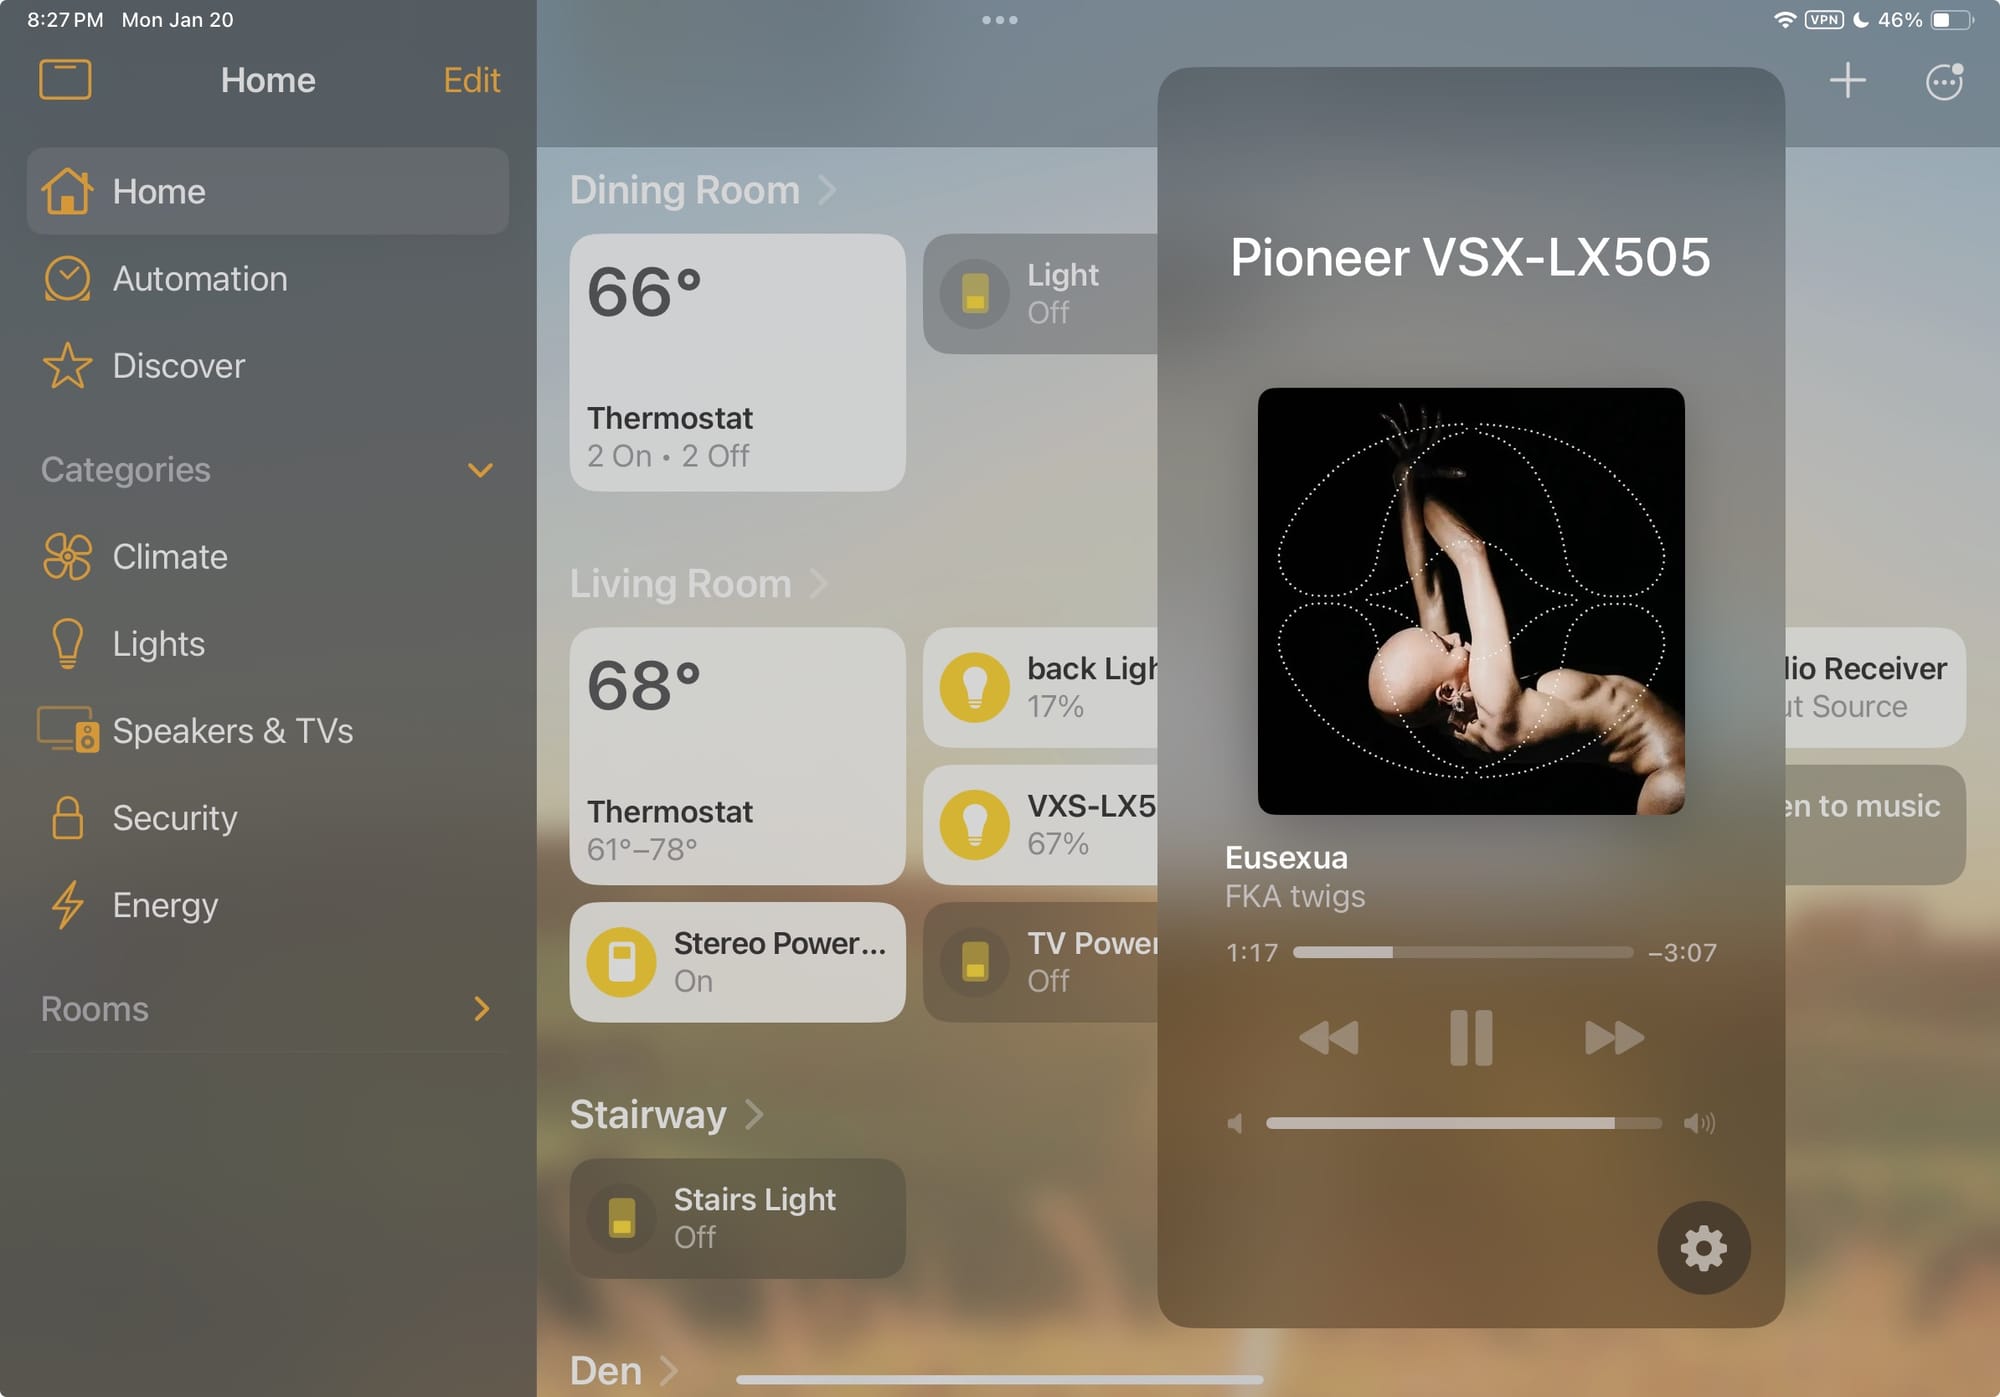
Once both accessories were added, the receiver finally appeared in the Home app, allowing me to control it directly from my iPhone.
Resolving Volume Control Issues
After getting everything set up, I noticed an issue with volume control—HomeKit's slider maxed out at -32 dB, far below the receiver's true maximum.
The Fix:
To resolve this, as described above in the config, I updated the maxVolume setting in my Homebridge configuration from 100 to 200, then restarted Homebridge. This allowed the Apple Home app to control the full volume range from -80 dB to +17 dB, aligning perfectly with the amp’s physical volume dial.
Final Thoughts
With this setup, I can now:
- Turn the receiver on/off with Siri or automations.
- Adjust volume using HomeKit sliders.
- Change inputs from the Home app.
- Create HomeKit automations to control the receiver alongside other smart devices.
If you're looking to integrate your Pioneer AV receiver with Apple HomeKit, Homebridge makes it relatively simple with the right configuration. Just be sure to set the correct maxVolume and explore HomeKit's automation capabilities to make the most of your smart home setup!
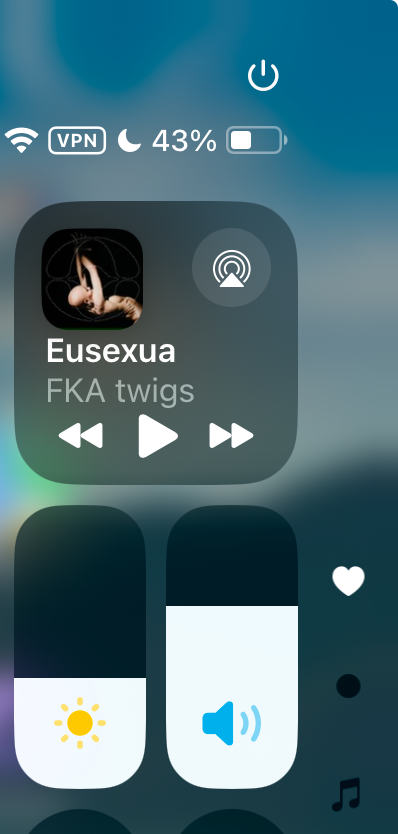
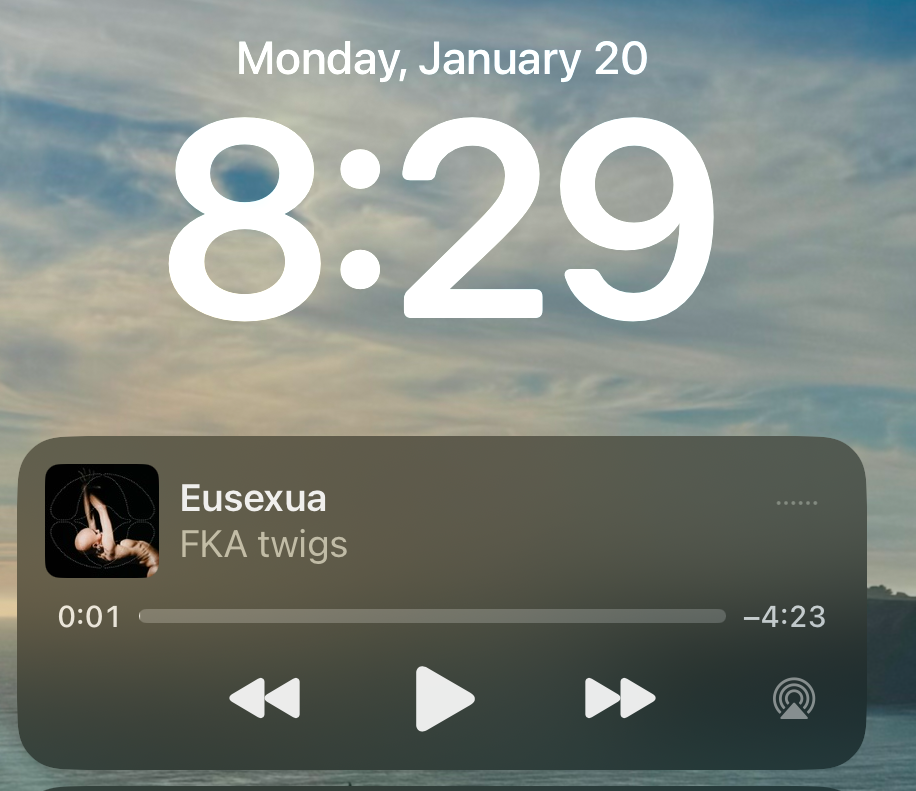
Pics or It Didn't Happen


