I built a VS Code / Cursor extension to open Agents in the Editor Area
TL;DR: I wanted agent terminals to live in my IDE in tabs in the editor area next to my files, not in a pane. So I built a small VS Code extension called “Commands: Open Terminal in Editor” that adds status bar buttons (one per agent) to open terminals directly in the editor area. Available on the VS Code Marketplace and Open VSX.
Over the weekend I was gifted an OpenAI ChatGPT Pro account and decided to use it the only way I know how: by immediately building something using Codex that I’ve been annoyed by for way too long.
The problem
When I’m working in Cursor or VS Code with an agent (Codex, Claude, Gemini, etc.), I frequently want a terminal open as a first-class citizen in the editor area—right next to the tabs for the files I’m reading/writing.
Opening an agent in the terminal and moving it manually isn’t a lot of work, but it adds friction that doesn’t need to exist.

Most terminal-focused extensions default to sidebars, which means I’m constantly repositioning the terminals they add. That side-by-side panel layout makes sense when I’m actively co-editing code, but it breaks down when an agent is doing the writing and reviewing for me and I am less "hands on". In those cases, I want the agent’s terminal and the file it’s working on to live as side-by-side tabs in the editor area, each with as much screen space as possible.
To address this I built a tiny extension: Commands: Open Terminal in Editor. You can find it for free in these marketplaces:
Note: The namespace for extensions is quite full and I needed a name quickly. 😂
What my extension does
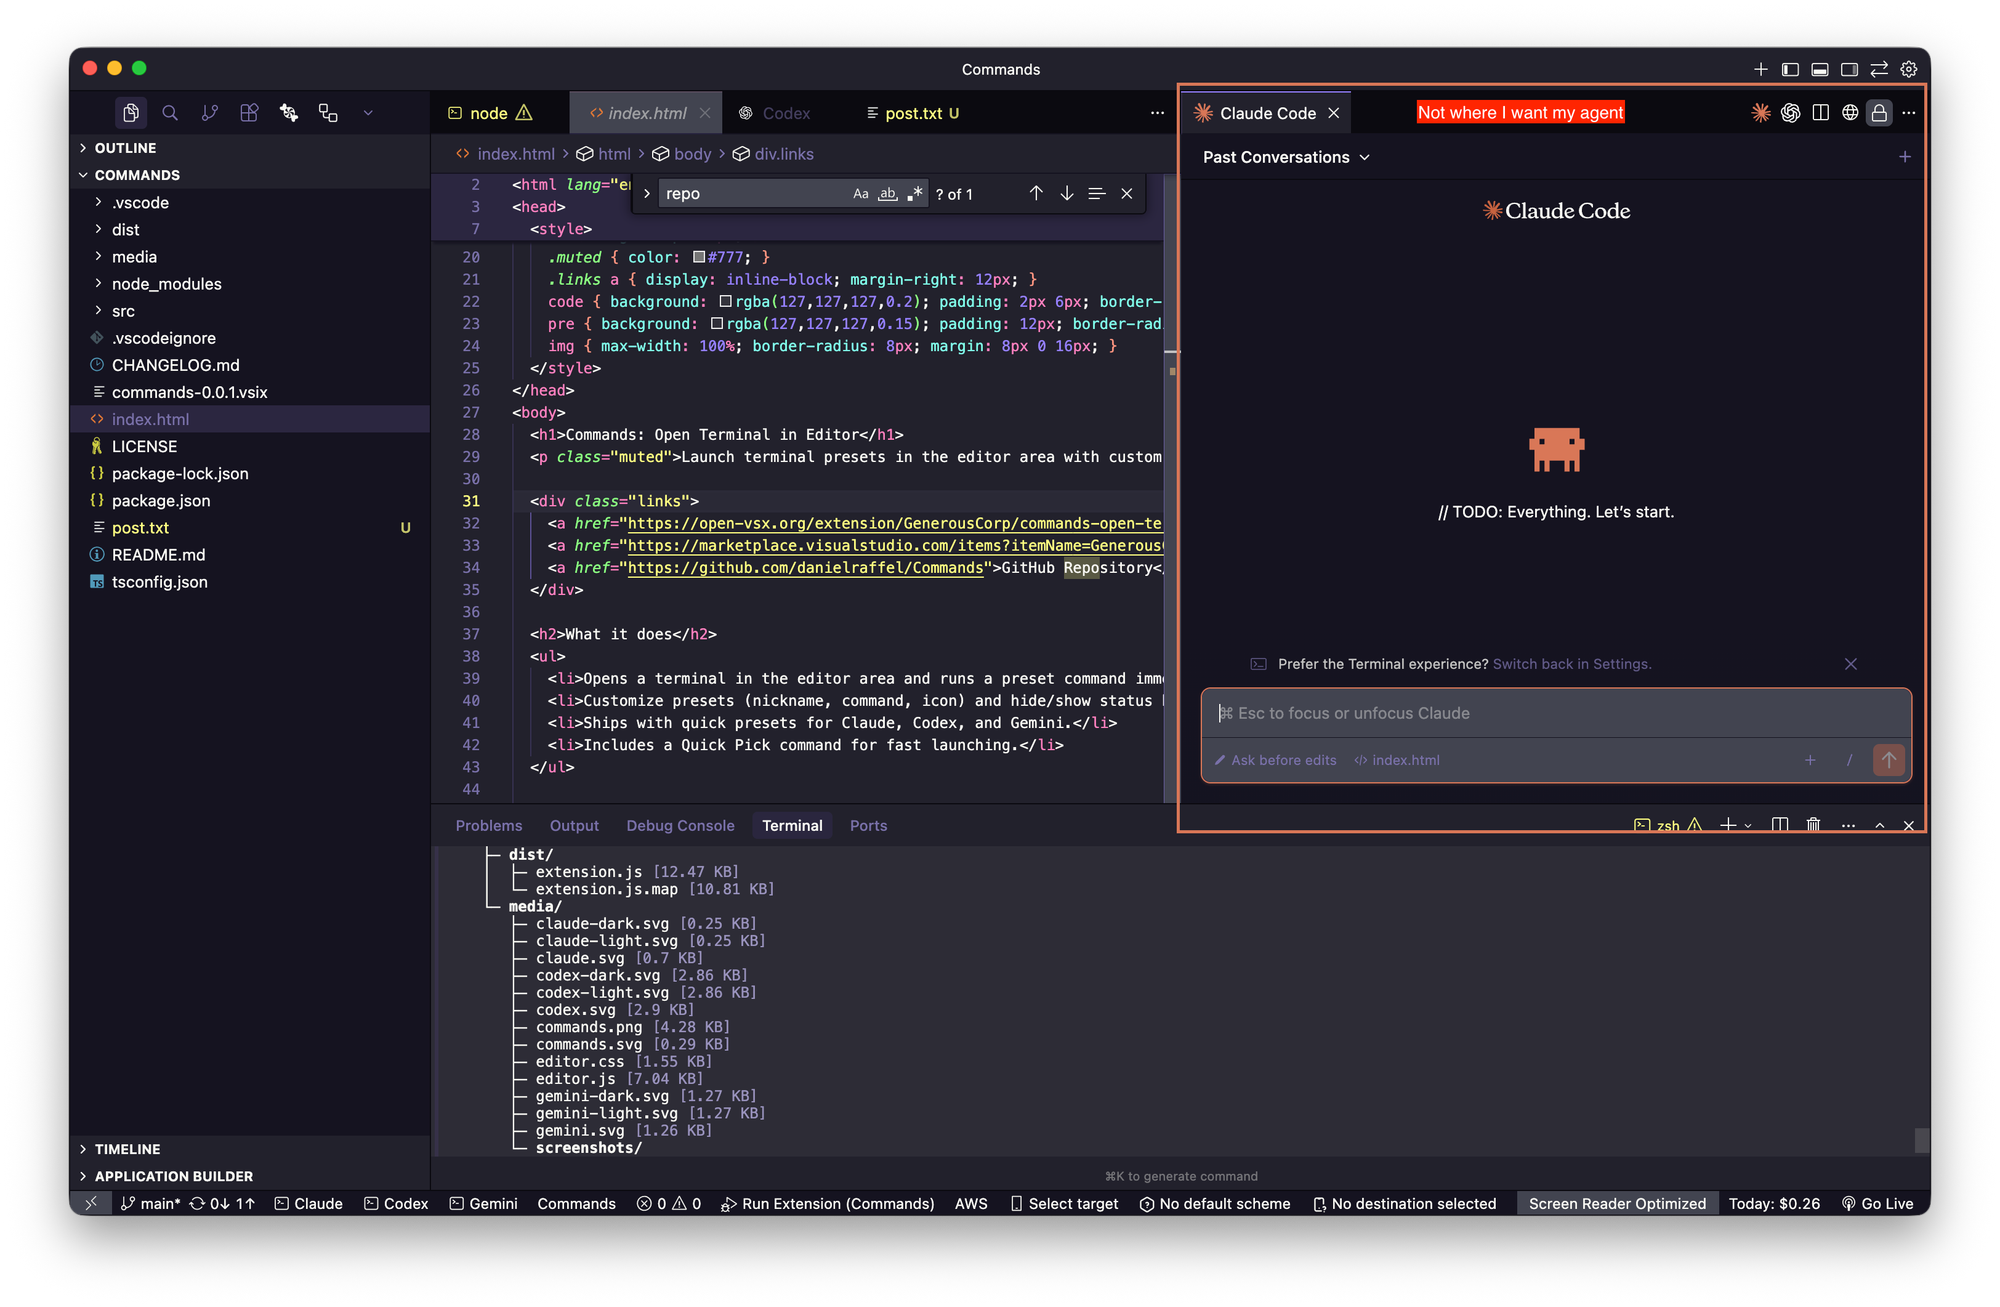
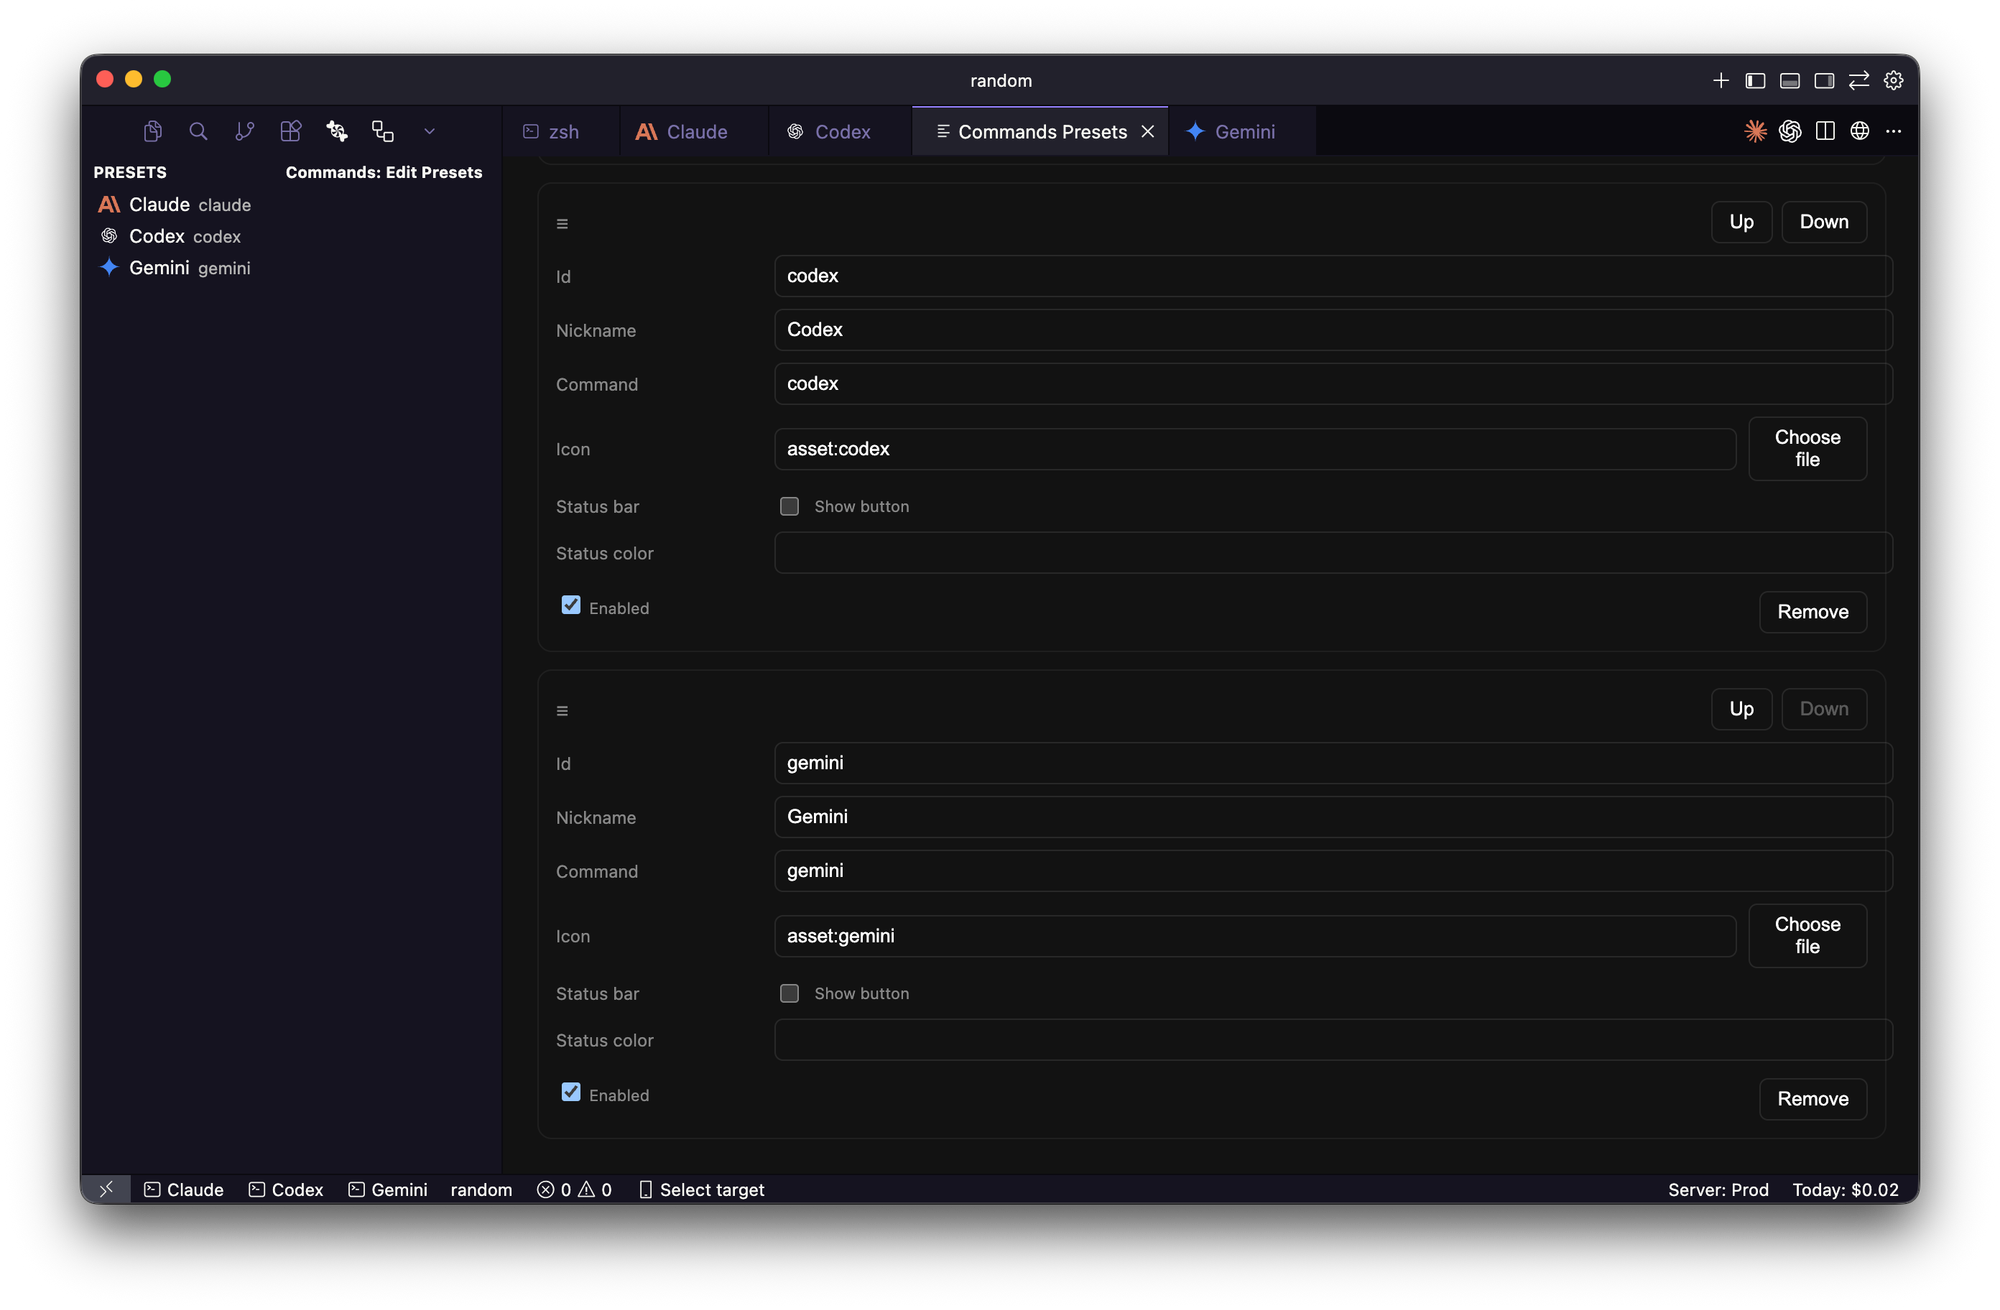
It adds a status bar button that opens a terminal in the editor area (instead of a panel / sidebar). You can customize the command, nickname, icon, order, whether it appears in the status bar and if it's enabled.
The hard boundary (and why this isn’t “up in the chrome”)
When I started, my intention was to put the button in the same “privileged” place where Claude/Codex-style UI appears—top-right editor chrome / custom toolbar-y areas.
Unless I misunderstood, that's not possible for normal extensions.
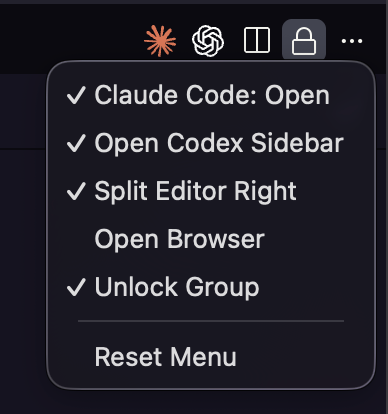
Most 3rd party extensions cannot inject UI into:
- the window title bar
- the top-right editor chrome
- overflow menus you don’t own
- macOS traffic-light / native toolbar rows
This seems to be a deliberate VS Code sandboxing decision, and I found no real workaround besides striking a partnership agreement.
Implementation
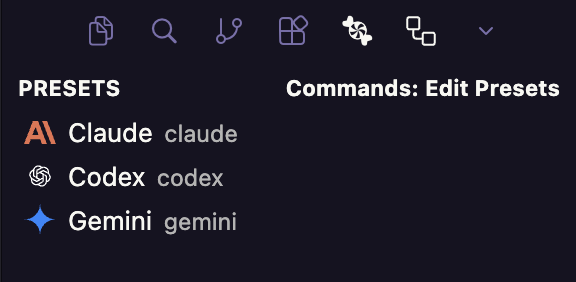
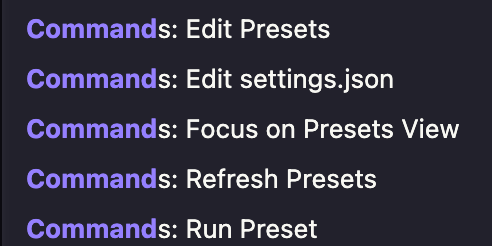
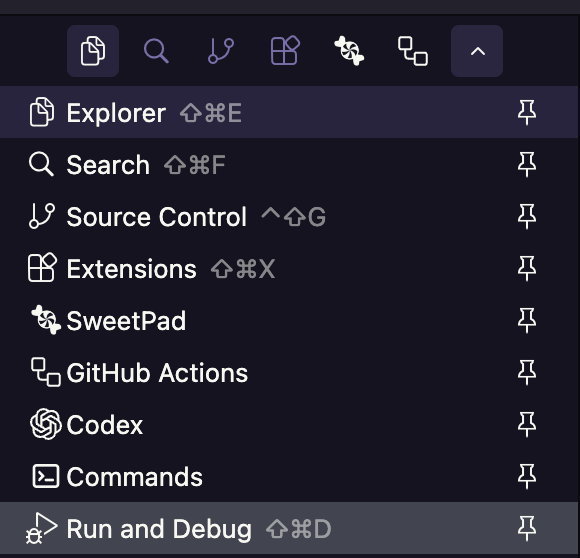
Instead of fighting VS Code’s UI boundaries, I leaned into the surfaces extensions are allowed to use: an Activity Bar item, Status Bar buttons, and a Command in the Command Palette (⌘⇧P / Ctrl+Shift+P).
The result is a small, configurable system that lets me:
- Define custom agent commands (Claude, Codex, Gemini, or anything else)
- Assign each one an icon
- Choose which agents appear in the status bar
- Open each agent in a terminal that lives in the editor area, side-by-side in a tab with files
In practice, this gives me a status bar button per agent. Clicking one opens a dedicated terminal directly in the editor—no panes, no dragging, no context switching. Below are screenshots.


How I built it
I used Codex as a “pair” for the whole loop:
- Scaffold an extension
- Implement the command to open/move a terminal into the editor area
- Add a status bar item wired to that command
- Iterate until it felt simple + reliable
- Package + publish
If you’ve never built a VS Code extension: the workflow is basically TypeScript + the VS Code Extension API, compiled into the out/ directory, with commands declared in package.json.
Local Build & Run Workflow
Prerequisites
Install dependencies
From the project root:
npm installRun this again only if dependencies change.
Compile the project
To build the extension locally:
npm run compileThe extension must compile successfully before it can be run or debugged.
Run & debug the extension
- Open the project in your editor (e.g. VS Code).
- Open the Run and Debug activity panel item.
- Select the extension run configuration.
- Click the Play ▶️ button.
This launches a new Extension Development Host window containing a fresh project with the compiled extension loaded.
Use this window to:
- Interact with the extension
- Test features and commands
- Observe logs and errors in the Debug Console

Typical development loop
- Make code changes
- npm run compile
- Run / Debug the extension (▶️)
- Test in the Extension Development Host
- Repeat
You do not need to restart your main editor—only the Extension Development Host. At first, it can be confusing when a new project window opens, but that’s the environment where the extension runs.
Packaging + publishing (the part that was more annoying than the code)
Writing the code was straightforward. The real effort went into publishing—supporting both VS Code and Cursor required setting up multiple accounts and navigating a maze of hoops.
Why publish to two marketplaces?
- VS Code Marketplace is the main channel for Microsoft VS Code.
- Open VSX matters because IDEs like Cursor rely on it (they can’t just use Microsoft’s marketplace directly), so publishing there makes the extension installable in more places.
Publish to the VS Code Marketplace (vsce)
I had to install Microsoft’s extension packaging tool:
npm install -g @vscode/vsce
Then package/publish the extension:
vsce package
vsce publish
To publish to the VS Code Marketplace, you need an Azure DevOps org + a PAT (personal access token).
The steps I followed:
- Create a free Azure DevOps account
- Create an organization (the UI is… quirky):
- Create a PAT (Personal Access Token) to publish
- Compile → publish with
vsceusing the token when requested
Publish to Open VSX Marketplace (ovsx)
For Open VSX I installed their packaging tool and used it as follows:
npm install -g ovsx
ovsx publish -p PAT_TOKEN
Before I could publish there’s a little extra identity/ownership friction:
- I had to create a free OpenVSX account
- Create a free Eclipse account and agree to lots of agreements
- Sign into Open VSX using that Eclipse identity and agree to more agreements
- Generate an Access Token (to get a PAT) so I can publish the extension
- Create a namespace to publish the extension under (namespace info)
- To make the namespace show as “verified”, I filed an issue requesting ownership/verification
- Compile → publish with
ovsxusing the token when requested
Cursor verification (extra steps beyond Open VSX)
Cursor adds its own verification layer for Open VSX publishers so folks can search for an extension in their IDE.
What I had to do:
- Host a simple webpage on my own domain
- Link to the published extensions
- Ensure consistent publisher/extension IDs across marketplaces
- Request verification in their forum
Creating all these accounts and “proving you own the publisher identity” chain was the most time-consuming part of this project.
Takeaways
- Building the extension took around 10 minutes.
- While there was no direct monetary cost to publishing, figuring out how to publish across the various marketplaces took longer than writing the code.
- The real constraints are UX sandboxing (where you can put UI) and distribution identity (publishing + verification across ecosystems).
- If you want something usable in VS Code and Cursor, plan for multiple marketplaces + verification steps.
If you want to try it:
The source for this extension is on Github: